Using Heatmaps to Improve Conversion Rates
June 03, 2024 | Digital Techtune
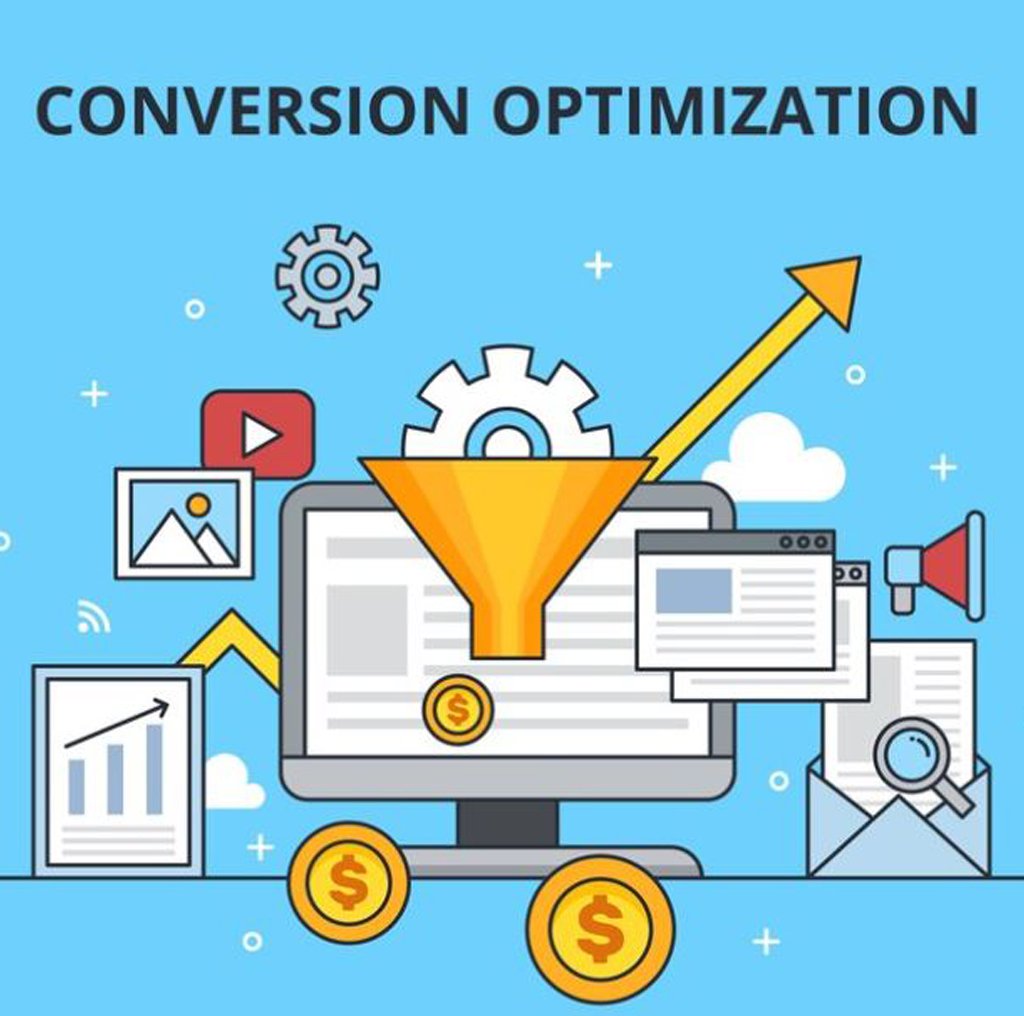
In the digital marketing and e-commerce landscape, conversion rates are the lifeblood of success. They measure the effectiveness of a website in persuading visitors to complete desired actions, such as making a purchase, signing up for a newsletter, or filling out a contact form. One powerful tool that has gained traction for its ability to optimize these conversion rates is the heatmap. Heatmaps provide visual representations of user behavior on a website, highlighting areas of interest and engagement. By leveraging heatmaps, businesses can gain valuable insights into user interactions and make data-driven decisions to enhance user experience and, ultimately, improve conversion rates. This comprehensive guide delves into the various aspects of using heatmaps to improve conversion rates, from understanding heatmaps and their types to practical implementation strategies and case studies.
Understanding Heatmaps
Heatmaps are graphical representations of data where individual values are represented by colors. In the context of website analytics, heatmaps visualize how users interact with web pages. They provide an intuitive way to analyze where users click, move their cursor, scroll, and spend time. The main types of heatmaps used in conversion rate optimization (CRO) include:
- Click Heatmaps: These heatmaps show where users click on a webpage. Areas with higher click activity are represented with warmer colors (e.g., red, orange), while areas with lower activity are shown with cooler colors (e.g., blue, green). Click heatmaps help identify popular elements and potential distractions.
- Mouse Movement Heatmaps: These track where users move their cursor on the page. While not always an exact representation of eye movement, mouse movement heatmaps can provide insights into which parts of the page draw attention and where users might be getting lost or distracted.
- Scroll Heatmaps: These indicate how far down the page users scroll. They help identify whether important content is being seen or if users are abandoning the page before reaching key sections.
- Attention Heatmaps: These combine various metrics, such as clicks, mouse movements, and scroll depth, to provide a comprehensive view of user engagement on the page. Attention heatmaps are particularly useful for understanding overall user behavior and identifying areas for improvement.
Benefits of Using Heatmaps
Heatmaps offer several advantages for businesses looking to improve their conversion rates:
- Visual Data Representation: Heatmaps present complex data in an easily digestible format, making it simpler to identify patterns and trends in user behavior.
- Enhanced User Experience (UX): By understanding how users interact with a website, businesses can make informed decisions to improve UX. Better UX typically leads to higher satisfaction and increased conversions.
- Identifying Problem Areas: Heatmaps help pinpoint areas where users encounter difficulties, such as non-clickable elements that attract clicks or important content placed below the fold.
- Optimizing Layout and Design: Heatmaps provide insights into which design elements are effective and which are not, allowing for better layout optimization and more effective use of space.
- Data-Driven Decisions: Heatmaps enable data-driven decision-making, reducing reliance on assumptions and gut feelings. This leads to more effective and targeted changes to improve conversion rates.
Implementing Heatmaps for Conversion Rate Optimization
Implementing heatmaps involves several steps, from selecting the right tools to analyzing the data and making informed changes. Here’s a detailed guide to effectively using heatmaps for CRO:
Step 1: Selecting the Right Heatmap Tool
Several heatmap tools are available, each with its own features and pricing. Some popular options include:
- Hotjar: Known for its ease of use and comprehensive suite of tools, including click, scroll, and attention heatmaps, as well as session recordings and feedback polls.
- Crazy Egg: Offers a range of heatmaps, including click, scroll, and mouse movement heatmaps, along with A/B testing capabilities.
- Mouseflow: Provides heatmaps, session recordings, funnels, and form analytics, making it a robust option for in-depth analysis.
- Lucky Orange: Combines heatmaps with session recordings, live chat, and conversion funnels to offer a holistic view of user behavior.
Choosing the right tool depends on your specific needs, budget, and the features that are most important for your business.
Step 2: Setting Up Heatmaps
Once you’ve selected a tool, the next step is to set up heatmaps on your website. This typically involves:
- Installing Tracking Code: Most heatmap tools require you to insert a small snippet of JavaScript code into your website’s header. This code tracks user interactions and sends the data back to the tool’s servers for processing.
- Defining Goals and Objectives: Clearly define what you want to achieve with heatmaps. Are you looking to increase sales, improve user engagement, or reduce bounce rates? Having clear goals will guide your analysis and help you make targeted improvements.
- Selecting Pages to Track: Decide which pages to track with heatmaps. Focus on high-traffic pages, landing pages, and pages with high drop-off rates. These are often the areas where improvements can have the most significant impact on conversion rates.
Step 3: Analyzing Heatmap Data
With heatmaps set up and data flowing in, the next step is to analyze the data. Here are some key aspects to consider:
- Identify High-Engagement Areas: Look for areas with high click and mouse movement activity. These are the elements that capture user attention and should be optimized for conversions.
- Spot Unnoticed Elements: Identify important elements that are not receiving attention. These could be call-to-action buttons, forms, or key content that users are missing. Consider repositioning or redesigning these elements to make them more prominent.
- Evaluate Scroll Depth: Analyze scroll heatmaps to see how far users are scrolling down the page. If users are not reaching critical content, consider moving it higher up or breaking the content into more digestible sections.
- Assess User Frustration Points: Look for areas where users might be experiencing frustration, such as repeated clicks on non-clickable elements or confusion in navigation. Address these issues to improve the overall user experience.
Step 4: Making Data-Driven Changes
Based on your analysis, make informed changes to your website. Some common changes include:
- Optimizing Call-to-Actions (CTAs): Ensure CTAs are prominently placed and clearly visible. Use contrasting colors and compelling copy to make them stand out.
- Simplifying Navigation: Improve site navigation to make it easier for users to find what they’re looking for. Consider adding breadcrumbs, simplifying menus, and ensuring critical links are easily accessible.
- Enhancing Content Placement: Position important content and CTAs above the fold or in high-engagement areas. Use whitespace effectively to draw attention to key elements.
- Improving Form Design: Optimize forms by reducing the number of fields, providing clear instructions, and ensuring they are mobile-friendly. Forms that are too complex or confusing can deter users from completing them.
- A/B Testing: Implement A/B tests to compare different versions of pages and elements. Use heatmap data to inform test variations and measure the impact on conversion rates.
Case Studies: Heatmaps in Action
Case Study 1: E-commerce Website Optimization
An e-commerce website noticed a high drop-off rate on its product pages. By implementing click and scroll heatmaps, they discovered that users were not scrolling past the product images to see detailed descriptions and reviews. To address this, they:
- Moved key product details and reviews higher up on the page.
- Added a sticky “Add to Cart” button that remained visible as users scrolled.
- Simplified the product description to highlight key features.
As a result, the website saw a 20% increase in add-to-cart actions and a 15% boost in overall conversion rates.
Case Study 2: SaaS Landing Page Optimization
A Software-as-a-Service (SaaS) company wanted to improve sign-ups on their landing page. Heatmaps revealed that users were clicking on an image that was not interactive and missing the sign-up button. To address this, they:
- Made the image a clickable link that led to the sign-up form.
- Redesigned the sign-up button to be more prominent and placed it near the top of the page.
- Added a clear call-to-action in the image.
These changes led to a 25% increase in sign-ups within the first month.
Case Study 3: Blog Engagement Improvement
A content-focused website aimed to increase engagement and reduce bounce rates on its blog posts. Heatmaps showed that users were not scrolling past the introductory paragraphs. To improve engagement, they:
- Added internal links to related articles within the introductory paragraphs.
- Included visually appealing elements like images and videos throughout the post.
- Implemented a sticky sidebar with popular posts and categories.
These changes resulted in a 30% increase in average time spent on the blog and a 20% reduction in bounce rates.
Best Practices for Using Heatmaps
To maximize the benefits of heatmaps, follow these best practices:
- Regular Monitoring: Continuously monitor heatmap data to identify new trends and areas for improvement. User behavior can change over time, so regular analysis is crucial.
- Combine with Other Analytics: Use heatmaps in conjunction with other analytics tools, such as Google Analytics, to gain a more comprehensive understanding of user behavior and site performance.
- Focus on Key Metrics: Prioritize metrics that align with your business goals, such as click-through rates, form submissions, and conversions. Use heatmap data to directly impact these metrics.
- User Testing and Feedback: Complement heatmap data with user testing and feedback. Conducting user interviews and surveys can provide additional context and insights into why users behave the way they do.
- Iterative Improvements: Implement changes iteratively and measure their impact. Continuous testing and refinement based on heatmap data lead to ongoing improvements in conversion rates.
- Mobile Optimization: Don’t overlook mobile users. Ensure your website is optimized for mobile devices and use mobile-specific heatmaps to understand how mobile users interact with your site.
Conclusion
Heatmaps are a powerful tool for improving conversion rates by providing visual insights into user behavior. By understanding how users interact with a website, businesses can make data-driven decisions to enhance user experience, optimize design elements, and ultimately boost conversions. Implementing heatmaps involves selecting the right tools, setting up tracking, analyzing data, and making informed changes. Case studies demonstrate the effectiveness of heatmaps in various scenarios, highlighting their potential to drive significant improvements in conversion rates. By following best practices and continuously monitoring and refining based on heatmap data, businesses can achieve sustained success in their conversion rate optimization efforts.